Part of the joy of gardening is that there are so many different gardening techniques to design and grow your garden. One that is gaining popularity for its affordability compared to raised beds is straw bale gardening. Straw bale gardening is the process of preparing a bale of straw by introducing high amounts of nitrogen into the wet straw and letting the bacteria form internally, decomposing the straw and creating a rich, soil-like medium ideal to grow a vegetable garden in. It has gained popularity recently thanks to the book Straw Bale Gardens Complete by Joel Karsten.
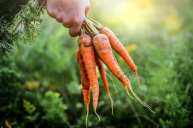
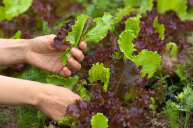
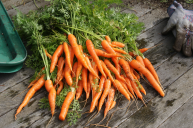
Just about everything grows well in the environment of a straw bale, from root crops such as potatoes and beets, to vining plants like cucumbers on trellises, and leafy greens like cabbages. Corn, however, becomes too top-heavy and many herbs and perennials prefer a more permanent growing medium.
How To Get Started With Straw Bale Gardening

Getty Images
To start hay bale gardening, first, you have to make sure you use straw. If you were to try and garden with hay bales instead, you would end up with a bunch of grass sprouts instead of growing vegetables!
Straw bales are less expensive and lighter than hay and can last up to two seasons. Make sure you are buying from a trustworthy farmer that only grows organically-grown bales, because if any herbicides have been used, this will harm your plants. Check your Department of Agriculture website for certified organic growers, and local nurseries and garden centers that vet their vendors.
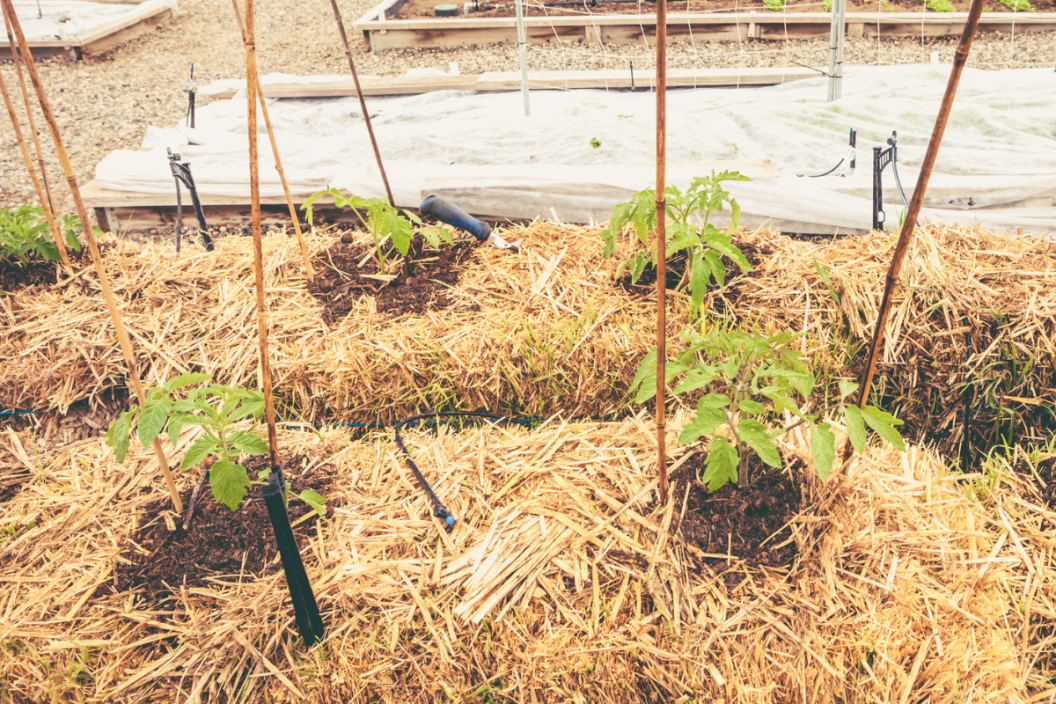
Begin your straw bale garden 20 days before your last frost. Prep your bales by arranging them in full sun how you want them, as they get heavy when wet, and placing them cut side up. Poke holes into the top of each bale and pour your nitrogen-rich organic fertilizer, such as blood meal or bone meal, into the bale. Thoroughly wet it and wait. Provide more nitrogen every other day. As the bacteria begins to grow, the bale will heat up. This makes straw bale gardening ideal for cold weather areas, as you can tent the bales and the bacteria growth will keep the plants warm. By day 18, the bales will be ready for sowing seeds.
Mix light seeds into a dusting of sterile soil on top of the bales to keep them from blowing away. Larger seeds can be planted directly into the bale a few inches in. You can also transplant starters. Just create a hole deep enough to fit the root ball and top with potting soil if the plant roots are showing.
Each bale can hold about 3-5 gallons of water, but it's important not to over water as drainage will take away necessary nitrogen and bacteria. Keep it watered about 1 gallon per day in the beginning of the growing season, and increase the frequency of watering once the roots take place. Drip irrigation by a soaker hose is a great way to avoid over-watering with straw bale gardening.
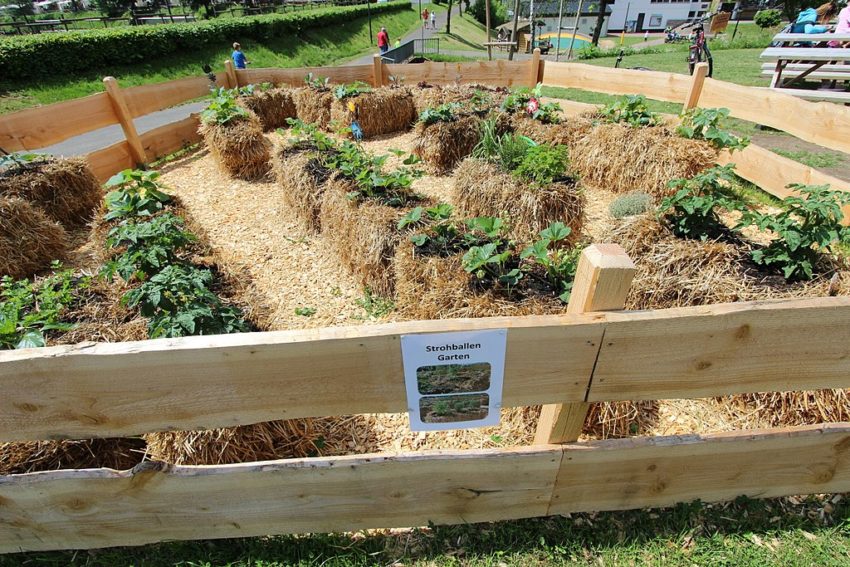
Some people find straw bale gardens unattractive, but I think they're lovely in their own way - not only are they efficient, but you can also plant flowers on the side of the bale to make them more colorful, attractive, and attract pollinators. My advice is to plant marigolds in each bale, as this will deter many pests from bothering your veggies.
Straw bale gardening is a great alternative if you don't have much space, much of a budget, or live in cooler temperatures. It's also a great alternative if you don't have healthy soil, as it doesn't require any soil to thrive. They have fewer diseases, require almost no weeding at all, and are great options for people who have difficulty bending down to grow and harvest. Plus, you can use them in your compost pile or as a potting mix once your garden is done for the season! It's easy to see why this style of gardening has become popular.
READ: How a Dose of Gardening Helps Mental Health
Products featured on Wide Open Eats are independently selected by our editors. However, when you buy something through our links, we may earn a commission.