When the winter days are short and cold, I find myself thinking of only one thing: what my garden is going to look like in the spring! In my opinion, nothing comes close to the magic of a seedling bursting into the world with wide open, green arms. I get my seeds together early, so that seed starting can begin in mid-February. There are many different methods to start the germination process. Here are a few tried and true ways to start your indoor garden!
Seed Starting Trays for a Better Garden
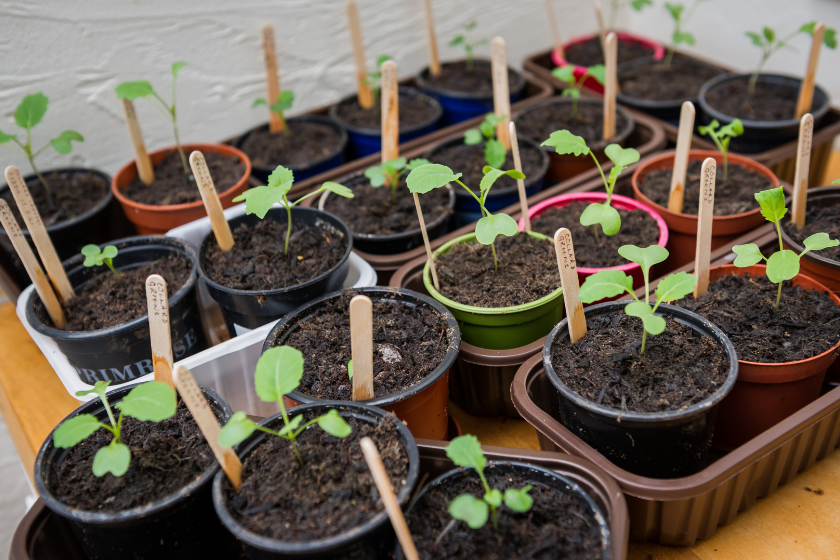
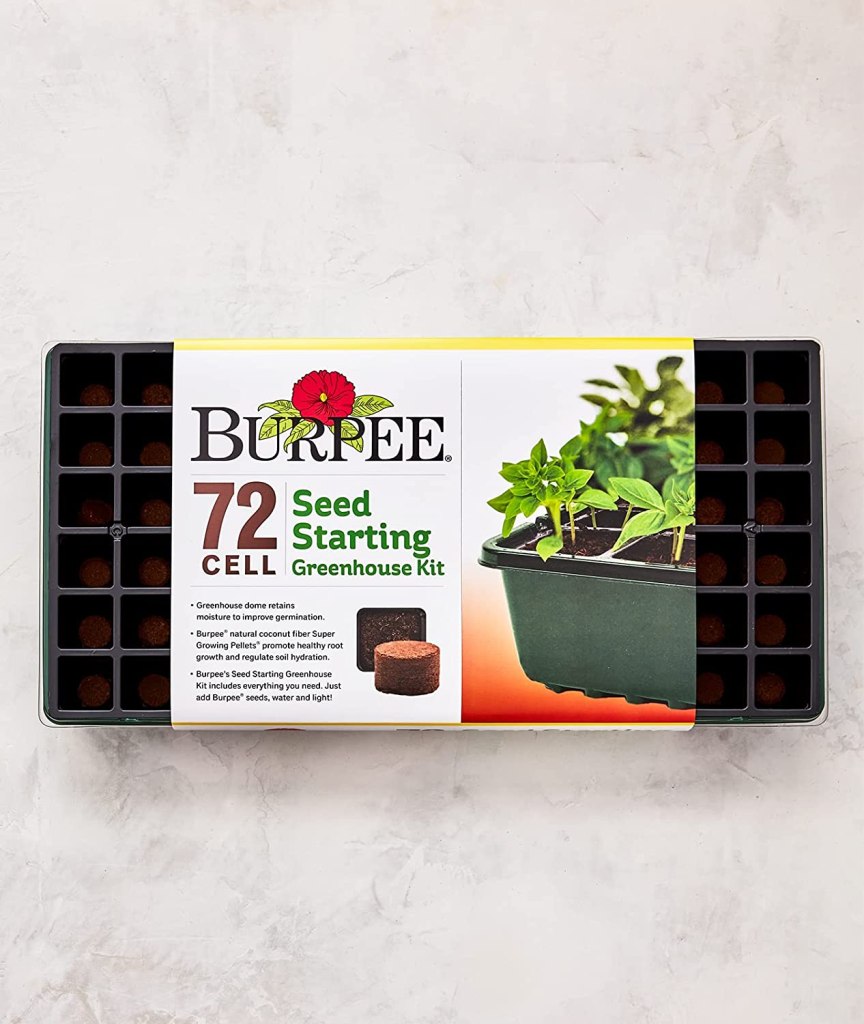
One of the most common methods is with plastic seed starting trays. You can purchase these at local garden shops, hardware stores, or online. Seed starting kits, such as the ones from Jiffy or Burpee, come with seedling trays, peat pellets, and a watering tray underneath
Burpee Greenhouse Indoor Starting Seed Kit

You can also DIY the seedling cells from any small plastics, such as yogurt containers. The trick is to cut them in half so they are wide and shallow, cut a hole in the bottom, and sterilize them. This method is nice because they are reusable year to year, but the plastic limits root development and when transplanting from the planting tray, often the roots get damaged.
Soil Blockers for Healthier Plants
A new product that I'm in love with is the soil blocker. This is a brilliant solution to the problem of plants getting rootbound and damaged in transplanting. The initial tool, which you can find on Amazon, is a little more expensive but pays for itself very quickly.
SOLIGT Manual Quad Soil Blocker
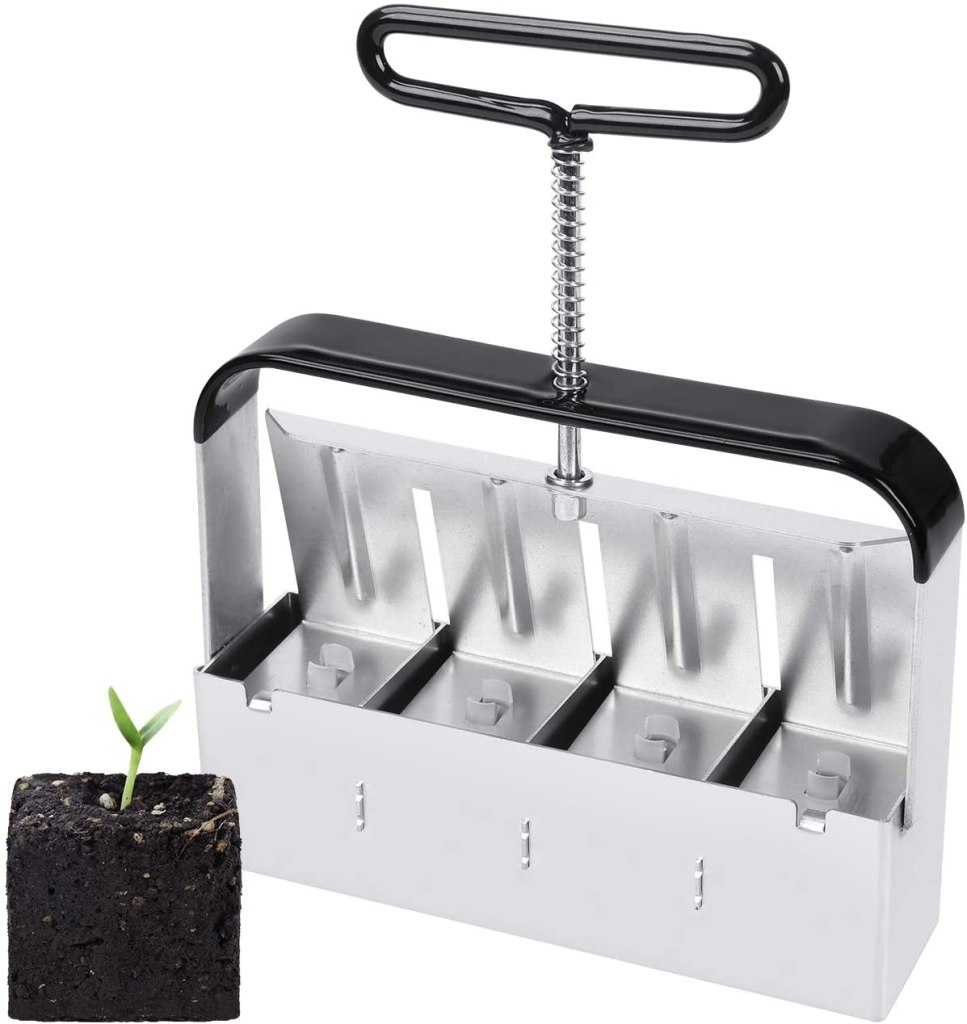
It compresses the soil into a block, so no individual cell trays are needed, and it can go right into the dirt when it's ready to transplant with healthy, undisturbed root growth. You do have to sift the soil, however, because anything larger than what will go through a strainer will keep it from forming a block.
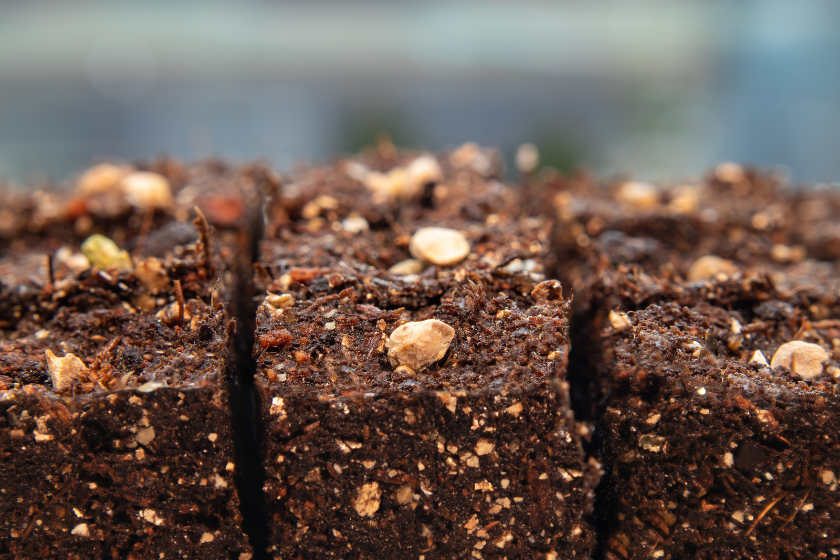
Regardless of the method, I always recommend seed starting mix as your growing medium, because it's designed to be sterile and keep moisture without encouraging bacteria and fungal growth. This works particularly well for this method because it's already a finer medium than typical potting soil.
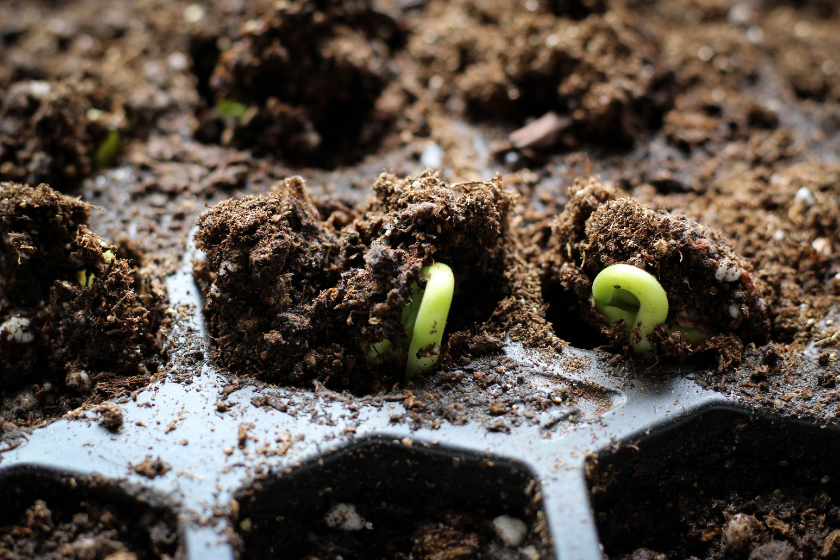
Seed Germination Basics
My most-used method is egg cartons as seed starting trays. I love a good quiche, so I save my plethora of paper egg cartons throughout the year to use. I cut the individual cells apart so that the roots don't get tangled and so I can fit them wherever on the window sill in whatever dish works.
The accessibility of this method is great. What I like most though is, as the sprouts grow, the roots grow through the cells and the cardboard starts to break down, so they can be planted directly into bigger containers or the garden once they get established with no root disturbance. Plus, I'm a big fan of DIY projects and reusing materials.
Regardless of what method you choose, four things are important to keep in mind with seed germination: water, light, heat, and airflow. The goal is to mimic a spring day for your seeds, so they stretch out into the world early as healthy seedlings that are strong enough to be planted as soon as possible.
Troubleshooting Seed Starting
Plastic trays are great for moisture because they allow you to water from the bottom without disturbing the seedlings. If you see the surface is drying out quickly, cover your sprouts with plastic wrap, a humidity dome, or anything that will mimic a terrarium environment. Airflow is important to keep fungal growth away, so make sure you air them out regularly using a gentle fan (and kind words! I like to encourage them at this point in the process).
Seedlings like it to be about 65-75°F to sprout, so you can use a space heater, a seedling heat mat, or just keep them in a warm location (I keep mine next to my heater with a humidifier nearby). And, of course, light. Southern facing window sills are best because they won't burn the tender seedlings but it will be nice and bright!
GooingTop LED Grow Light
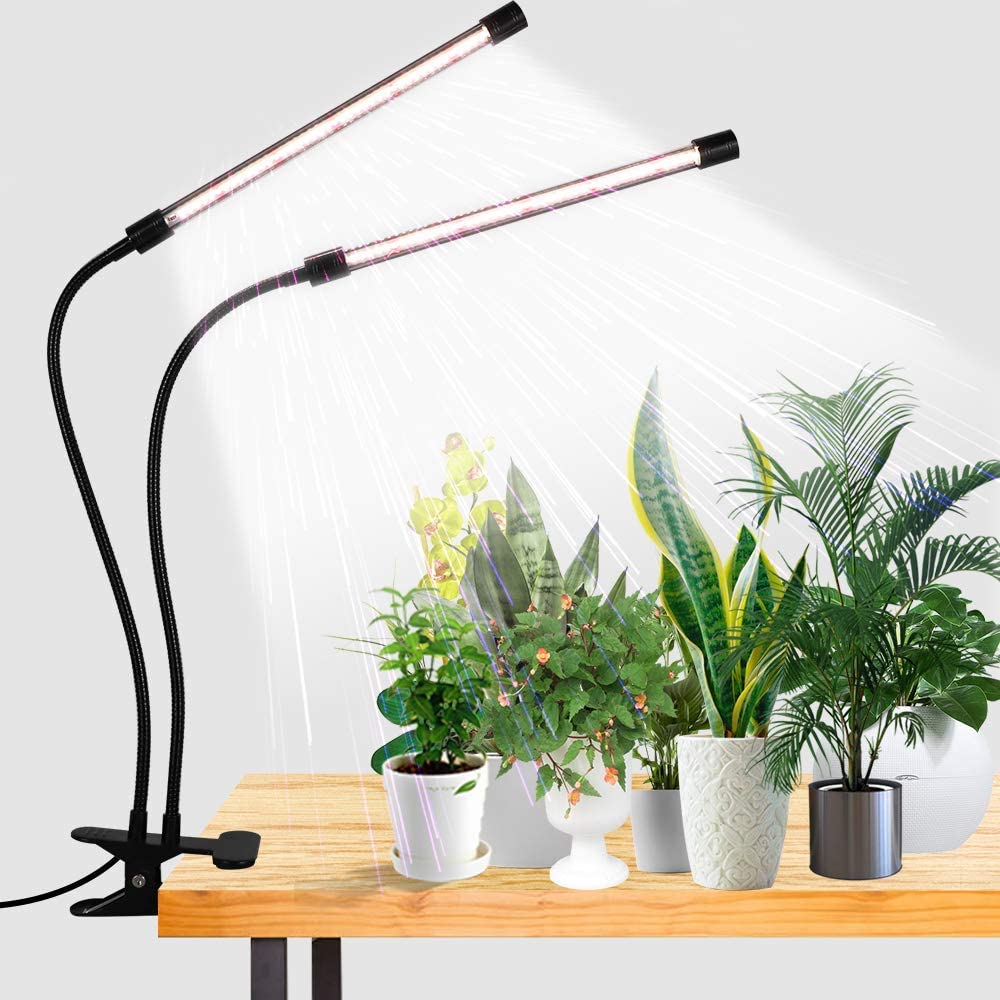
Seedlings need 12-16 hours of light, so you can use grow lights in addition to make sure they get enough. I've had great luck with some inexpensive ones on Amazon.
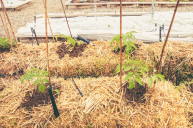
After they get their first set of leaves, you can start to use fertilizers. Rotate them to encourage strong stalks and root growth. After they get their second set of leaves, slowly start bringing them outside to acclimate and they'll be ready to plant in no time!
READ: Growing Plants from Cuttings Is the Easy Way to Start Your Own Garden
Products featured on Wide Open Eats are independently selected by our editors. However, when you buy something through our links, we may earn a commission.