Finding a coffee table that suits your style and budget can be pricey. If you're working with a limited amount, but don't want to deal with the hassle of roaming the IKEA maze, then opt for a DIY project like this crate coffee table for your living room. The modern design of this crate coffee table by cyclecanuck is insanely simple to put together. If you're not much of a DIYer, that's great news. As long as you can read some instructions on a can of stain and can of handle sanding, then you'll have no trouble putting this table together.
With a few supplies from the hardware store, this project can be made for around $100. Each crate will run you around $10. Add on the sand paper, stain, polyurethane, brushes, and screws, and you have a finished coffee table that's cheaper than what you would pay for in the stores. Similar to the pallet coffee table plans you can find on the internet, this wood coffee table is even easier. This is totally one of those products that major retailers would charge mega bucks for while all you're thinking is "Gee, I could make that." The truth is, yes, you can make that with any skill level. Here's how.
Step 1: Purchasing Supplies
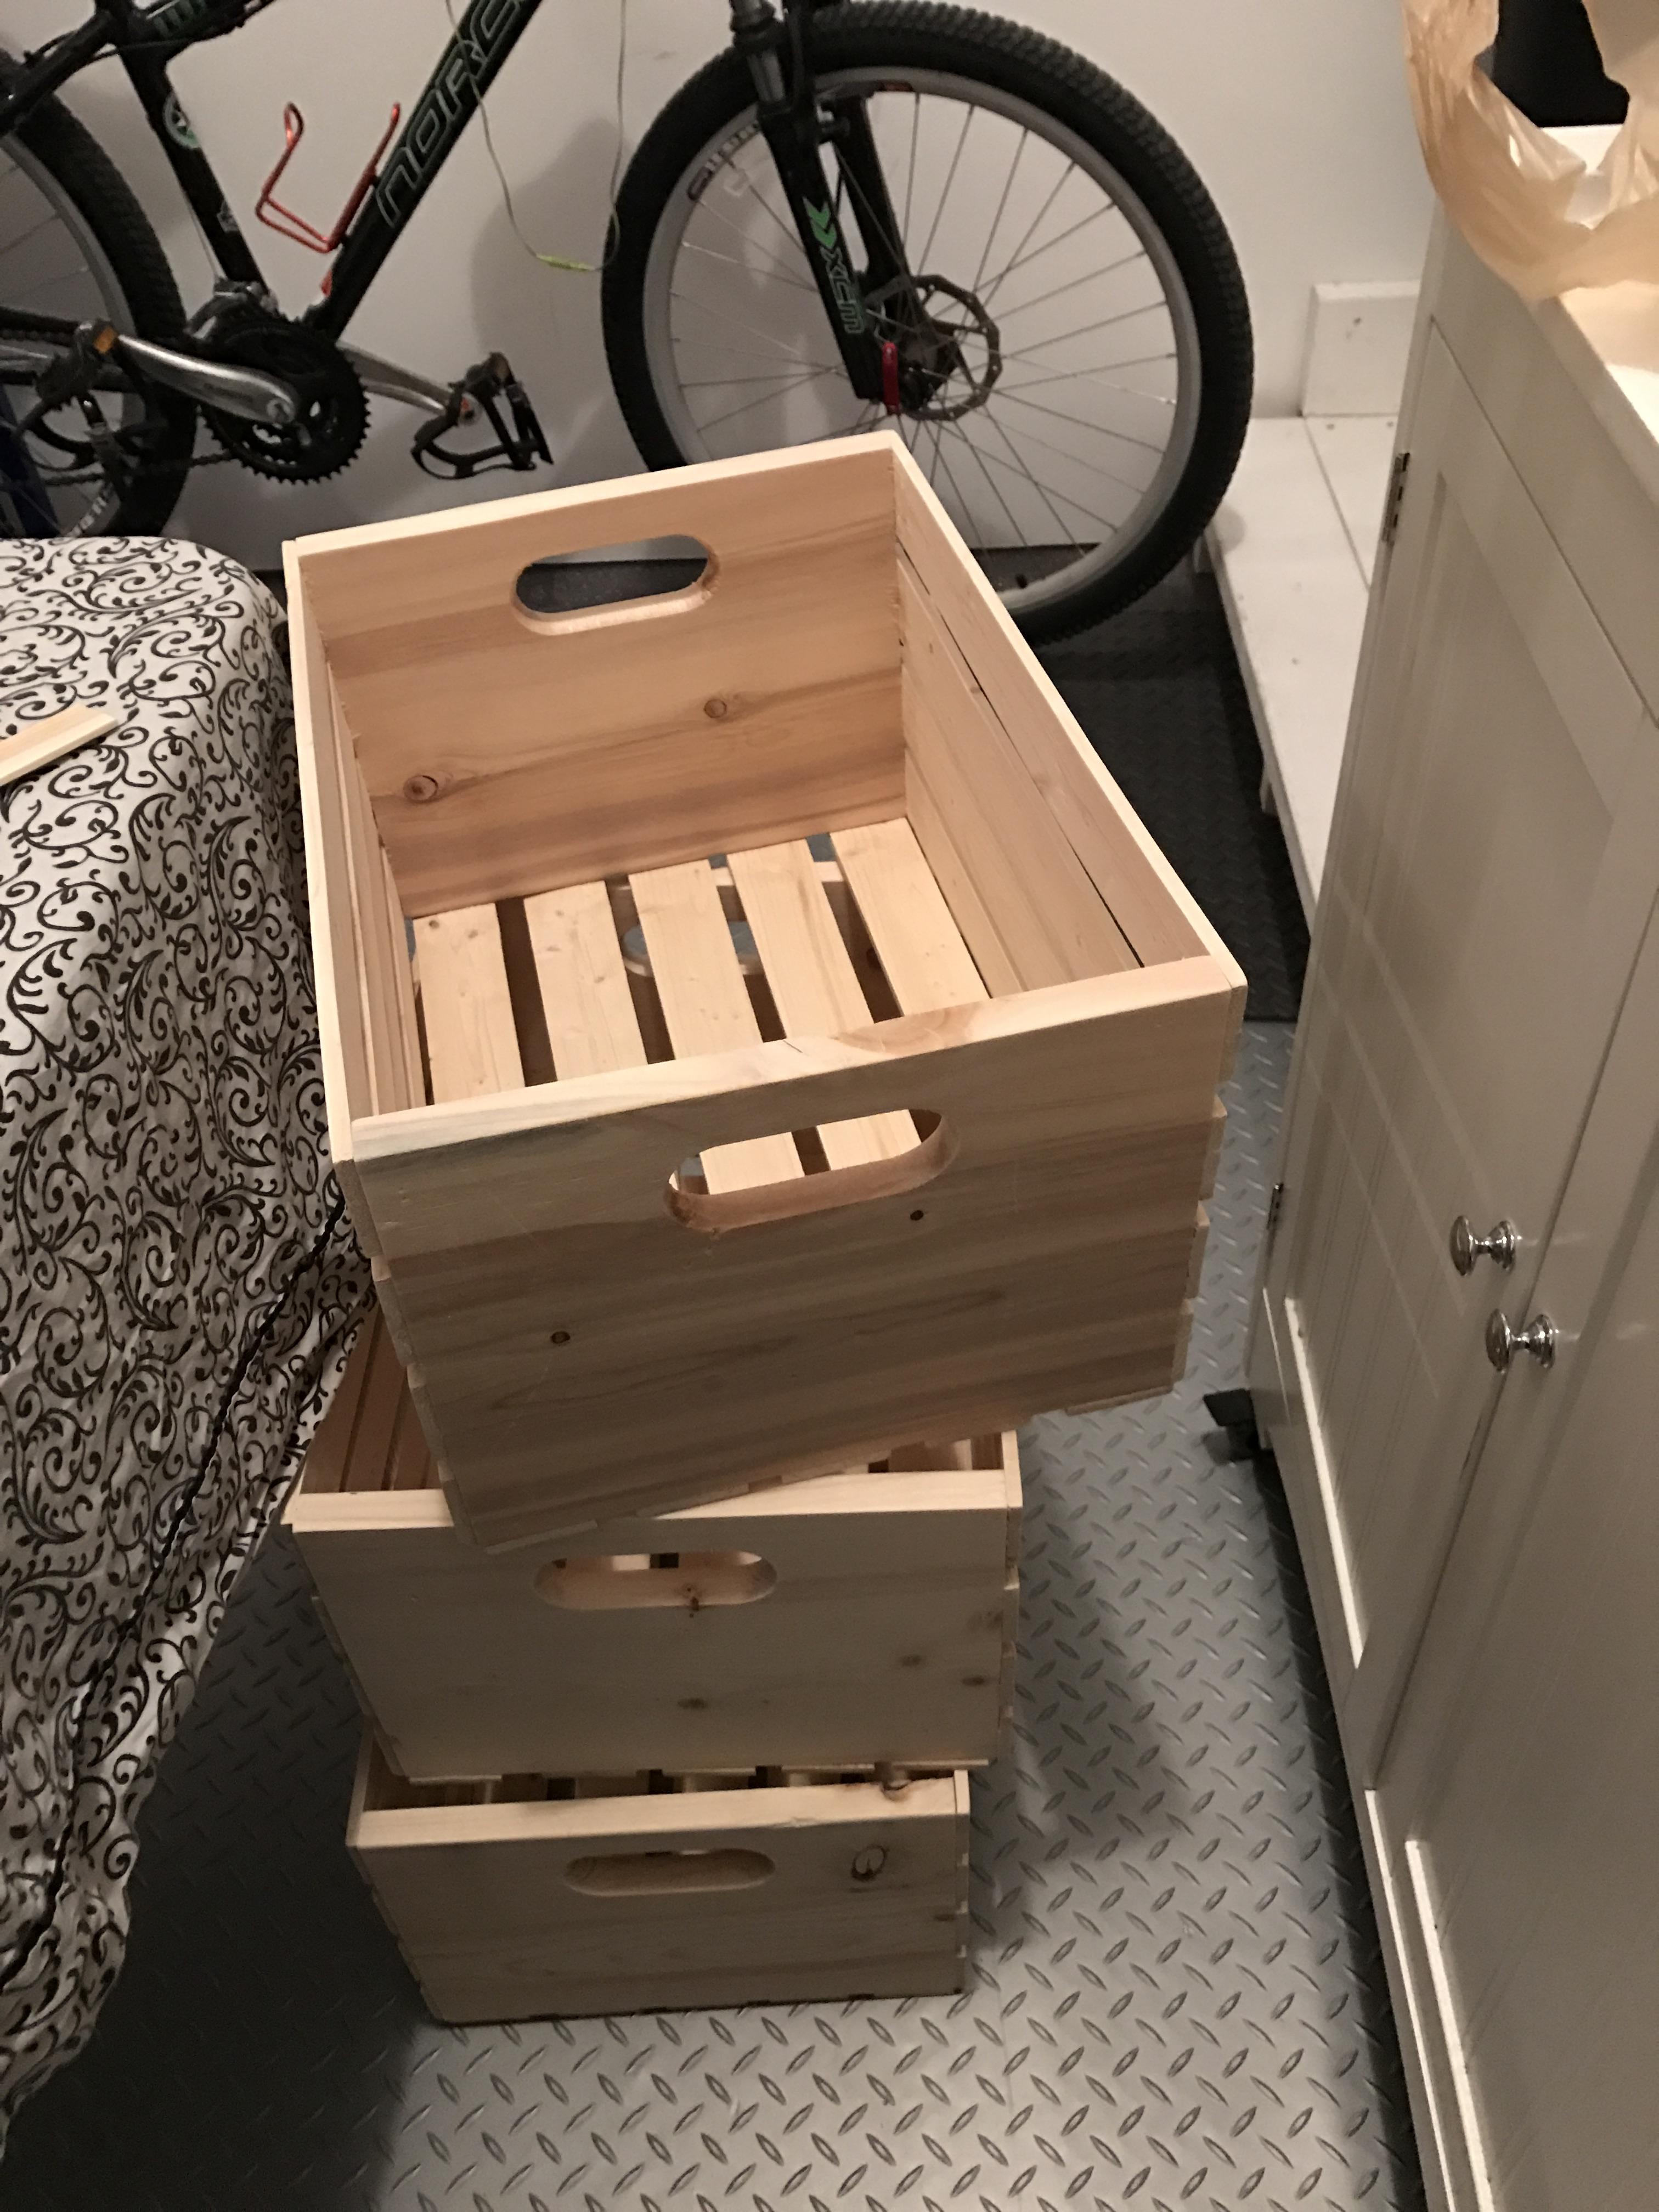
These unfinished crates can be purchased from your local home improvement store. The ones you see here were purchased from Home Depot for about $10 a crate. You will need four in total to create this lovely farmhouse table.
Along with the crates, you will need 120-grit sand paper, 220-grit sand paper, brushes, 1-inch screws, stain, and polyurethane for the finish. How's that for an easy DIY? Notice there's no wood glue on this list!
Step 2: Sanding
You will notice that the bare wood of the crate will be slightly rough to the touch. That's where your sand paper comes in. Sanding down the wood grain to a smooth surface will prepare the table for the finishing coat of the rustic coffee table.
Since the wood is bare, using two grits will help achieve a smoother surface. Start with the coarser 120-grit, then follow up with the finer 220-grit. This will give the crates the smoothness they need while allowing the finishing coat to take hold.
While you may be tempted to skip a grit and go straight to the finer grit, it's not recommended. You'll wind up wearing out your 220-grit faster and go through more sand paper. This just creates extra work for yourself - and nobody wants that.
When choosing a sanding method, I recommend using an orbital sander if you have one. If not, sanding by hand will work too - but it will be more labor intensive.
Oh, and after sanding, be sure to wipe down your crates to ensure no fine particles of sawdust remain for a perfect coffee table prior to staining.
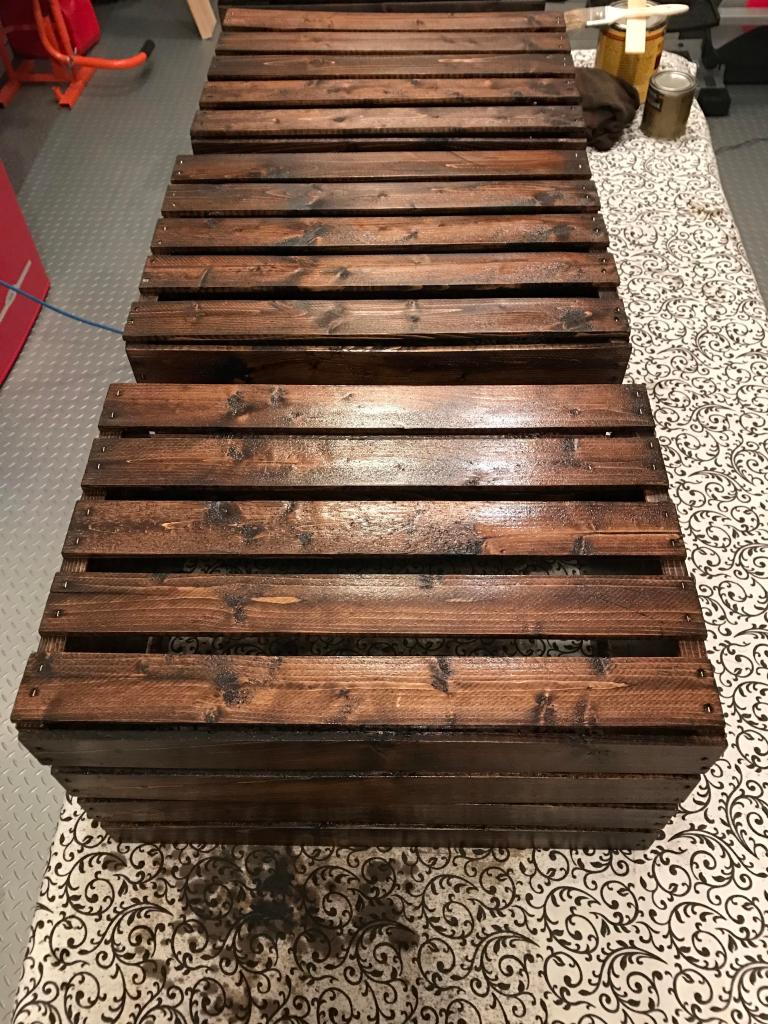
Step 3: Staining
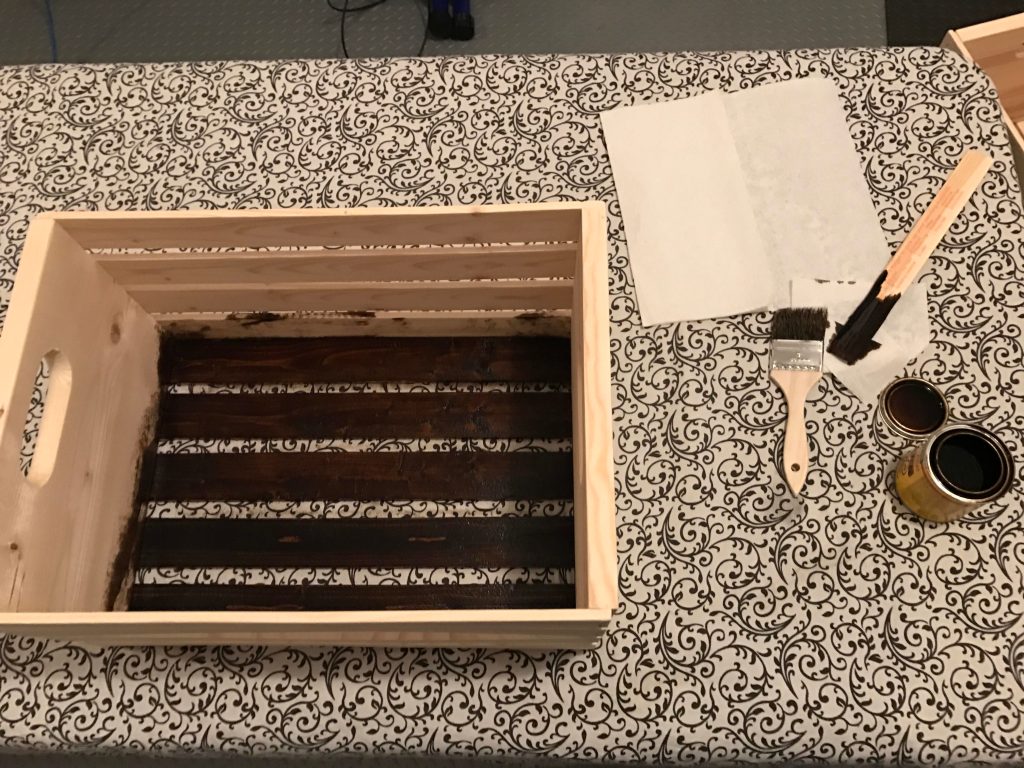
The stain you see here is a dark walnut. Depending upon your desired look, you can opt for a plethora of stains like cherry, American oak, or espresso. When you're ready to stain, be sure to read the directions on the can! Of course, you could always make it the focal point of your living room and paint it white. Many coffee table projects look best stained using a wood stain, but it's up to you.
There are varying types of stains and each requires its own application process. For this project, you will want to choose a stain that is compatible with a polyurethane finish. Apply the first coat according to the directions, then let dry. Repeat the steps until the desired stain color is achieved for your farmhouse coffee table.
Step 4: Creating Character
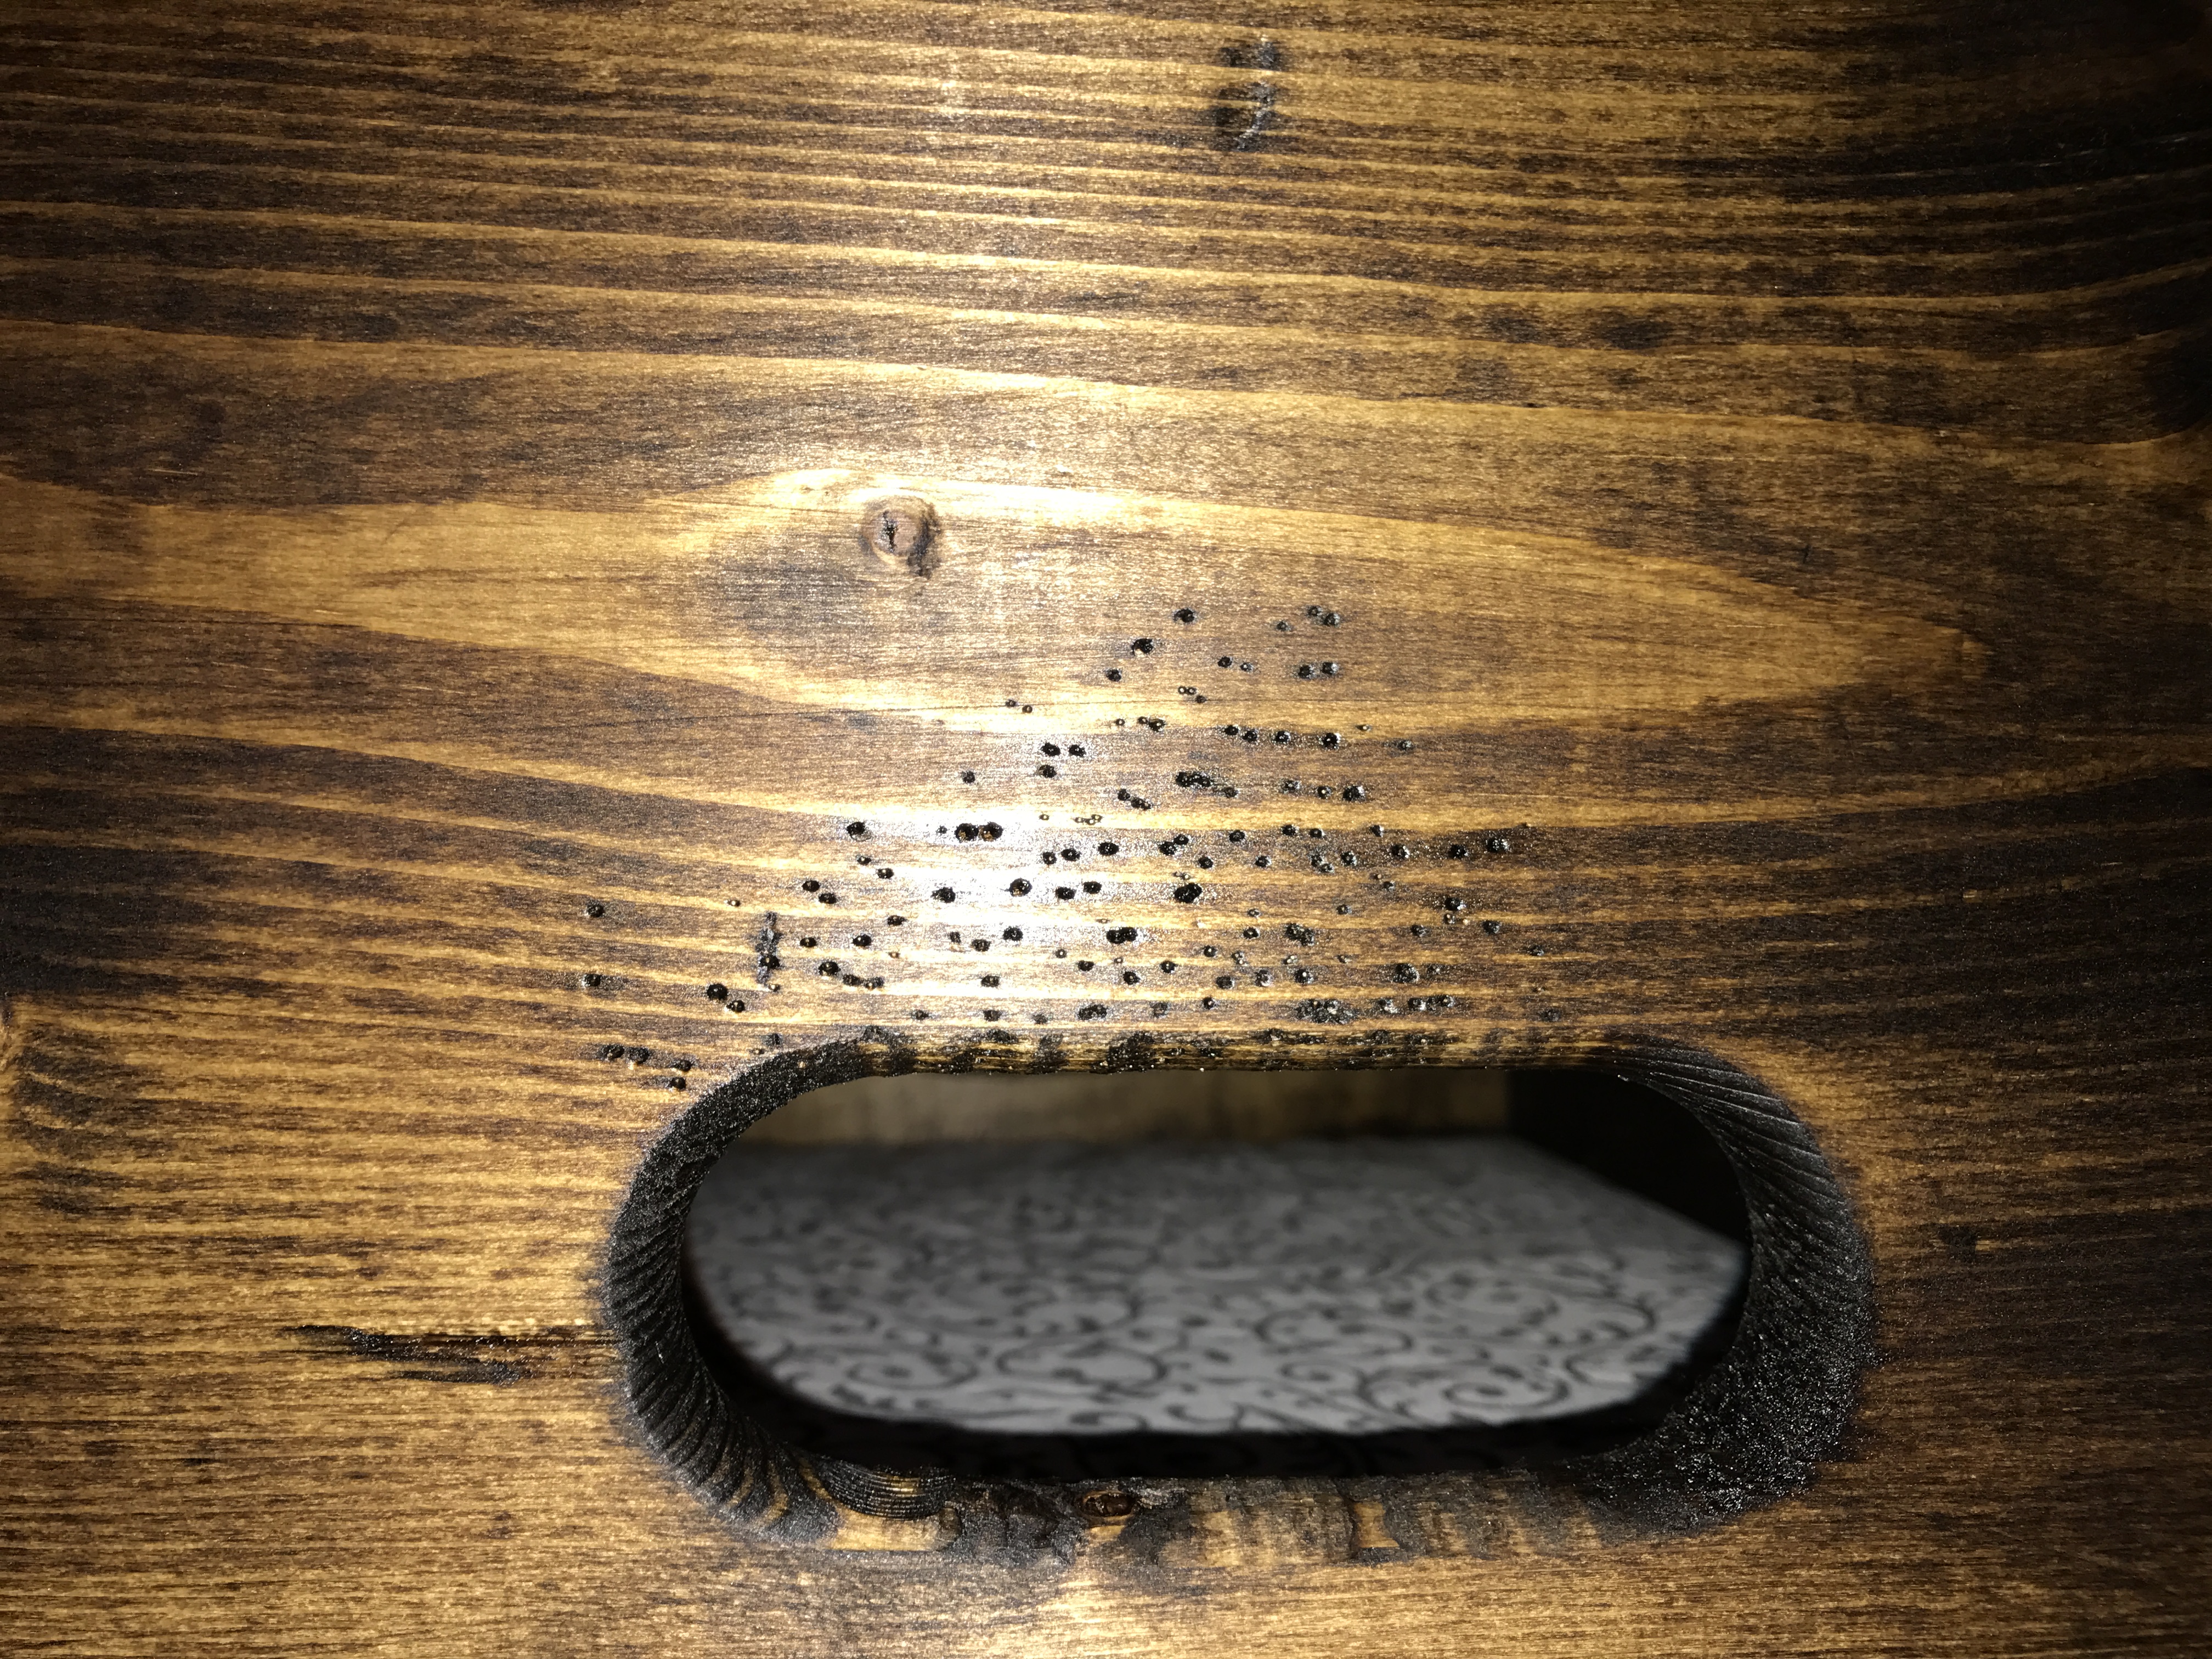
In order to achieve the weathered character you see here, they used a hammer and a screw. The dents added from the hammer and tiny pinholes from a screw contributed an aged look. Feel free to get creative and put your own touches on it.
You can check out Pinterest for more DIY ideas on how to make this even more rustic by checking out coffee table projects.
Step 5: Adding the Finish
When the stain is dry, it's time to apply two coats of polyurethane. For this project, an oil speed fast-drying poly was used.
Apply the first coat, then let the poly dry - once again, read the directions on the label. Next, you will need to do a light sanding with 220-grit sand paper.
Why are we sanding again? Notice the texture of the wood once the poly dries. Does it feel slightly rough? By sanding, you ensure that the second coat of poly is properly applied.
Step 6: Assembling
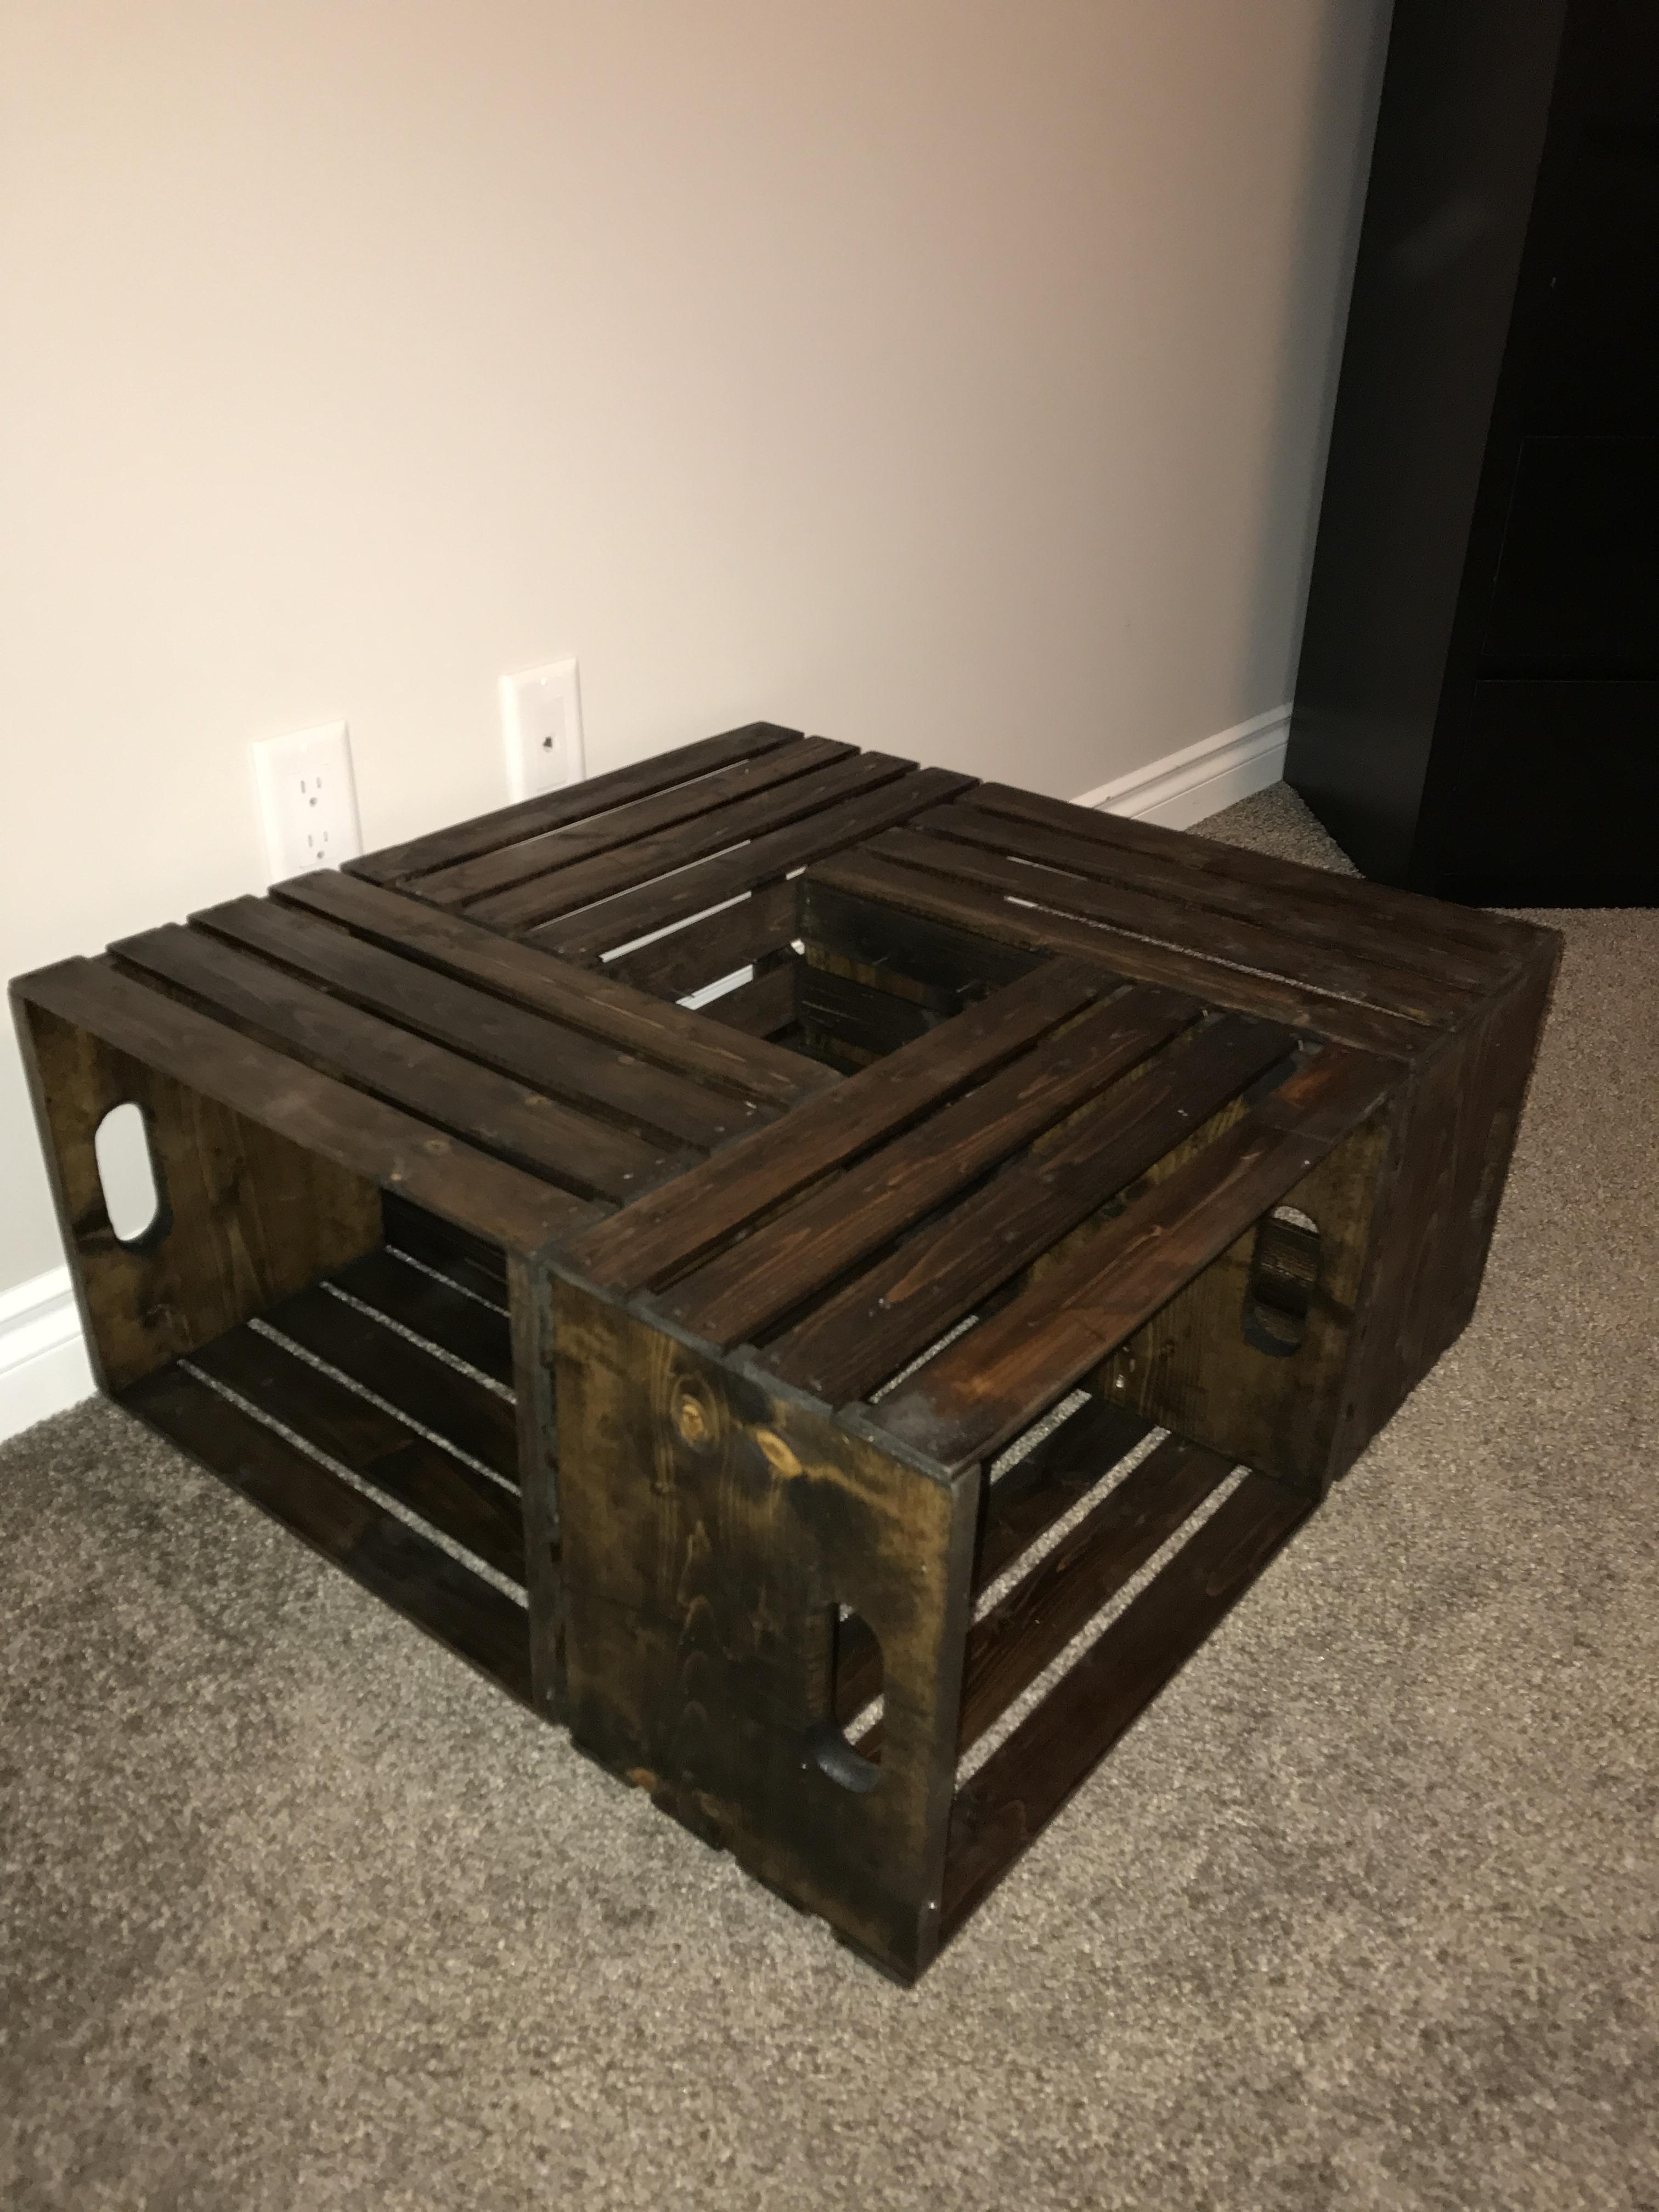
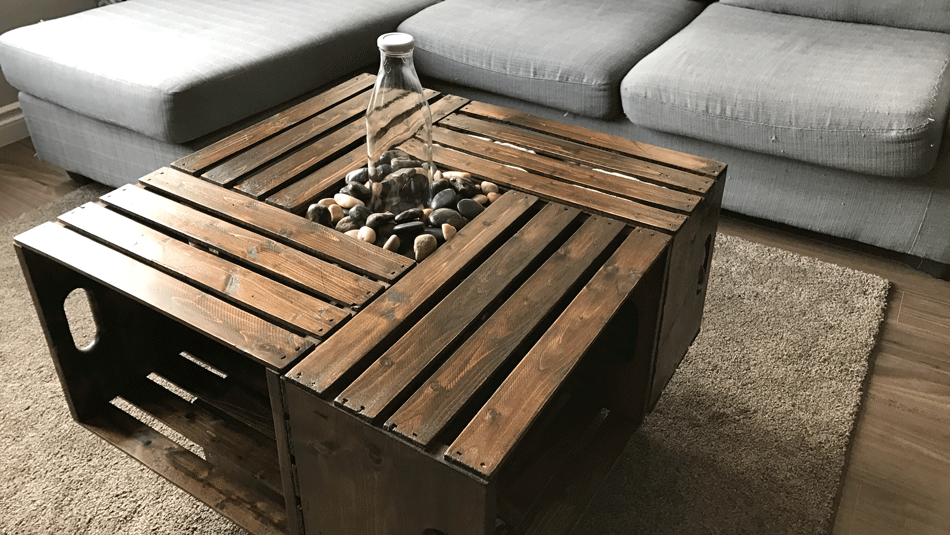
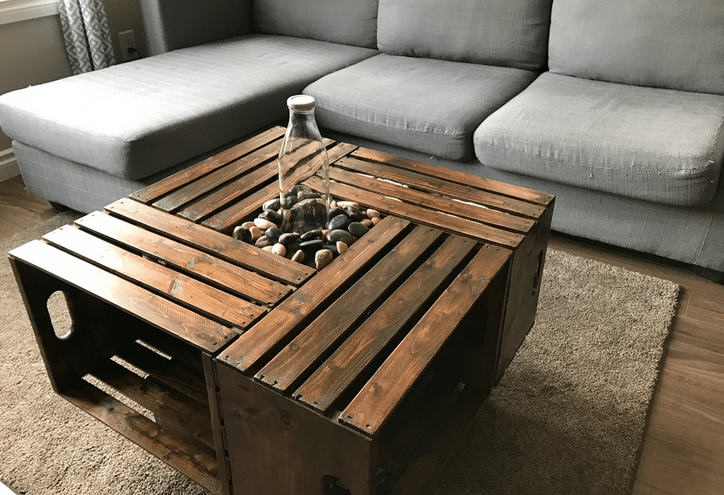
Now comes the fun part, putting the table together! Way easier than deciphering an IKEA picture, putting these crates together is a cinch. Place the four crates together like you see here and apply screws in each corner as well as the middle wood slates.
Voila! Your new coffee table is complete. And best of all, you saved a pretty penny in the process. Have you ever considered getting rid of your old coffee table in favor of this DIY pallet coffee table style? Even if this doesn't suit your taste, there are loads of project ideas for home decor. You could even use this tutorial to build nightstands for a low bed.