Sure, you could buy a new grill. Or you could turn an old keg of your favorite beer into a new barbecue grill and feel like the handiest, craftiest human on the planet. This helpful DIY from Instructables has everything you need to know, but we've broken it down into easy-to-follow steps below.
Aren't you ready for that first Beer Keg BBQ of the summer? Imagine the look on the neighborhoods' faces when you roll out this Keg BBQ Barrel that puts all other BBQ grills to shame when it comes to creativity. This is one DIY BBQ beer project worth finishing the keg for!
While your Weber gas grill might be your favorite, the grilling experience on this keg is unbeatable. Instructables user ilpug posted this excellent DIY with photos of his own keg barbecue and we're obsessed. Here's how to recreate it yourself.
Materials
- 1/2 barrel keg (A stainless steel keg is best)
- Heavy steel door hinge
- Scrap steel stock
- Scrap aluminum plate
- Small bolts and washers of different sizes
- Grill grate (store-bought is your best bet!)
Tools
- Angle grinder featuring cutting wheel, bonded flexible abrasive wheel
- Drill with various drill bits
- Manual shear
- Files to shape the wood
- MIG welder
- Bandsaw
- Welding angle magnets
- Vice grips pliers
Steps
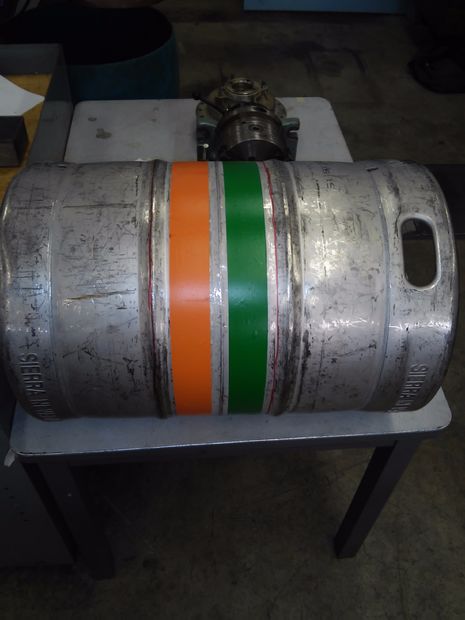
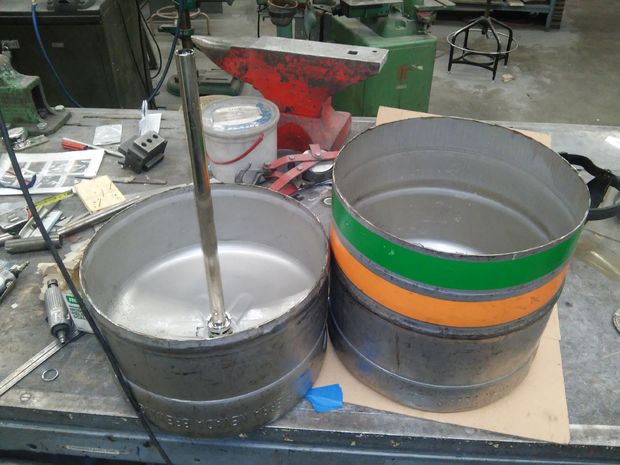
To begin, you'll need to cut the keg in half and add two slices so the top and bottom pieces lock into place smoothly.
While most Sierra Nevada kegs are stainless steel, as this one is, aluminum kegs can also be used with the same precaution.
Be sure the keg is secure and stable while you're making the cuts, or else the entire keg might explode if the grinding wheel jams in the slots.
Now it's time to begin the welding! There's an awful lot of welding involved, but it's a handy skill to have and makes your design much more stable than those without welding involved.
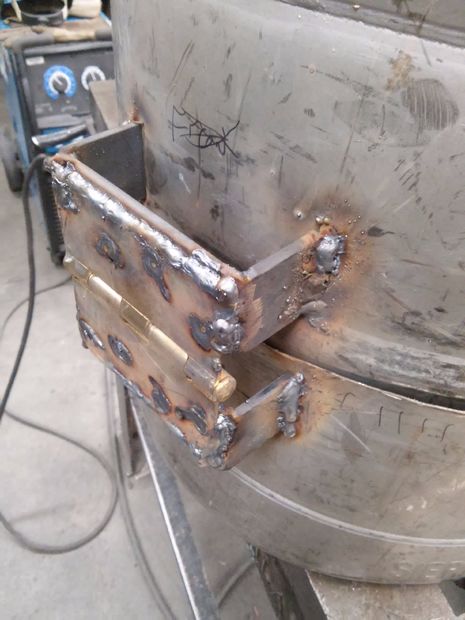
You'll need to attach the hinges to the two pieces of the keg so it opens like a mouth. Or Pac-Man. Whatever reference you prefer.
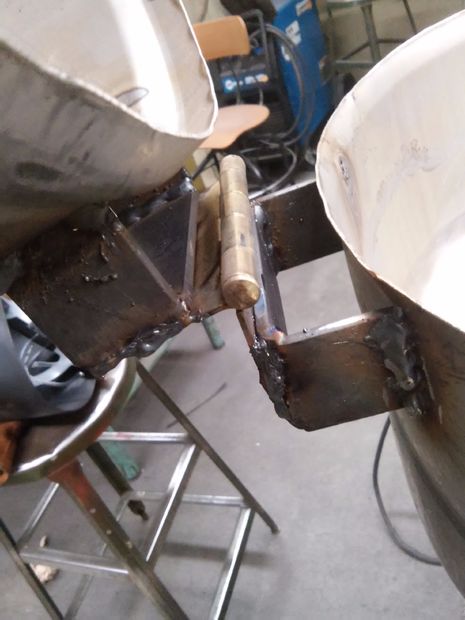
Look at that beautiful weld, y'all. You'll then need to add both a top and bottom air vent so the grill has proper ventilation.
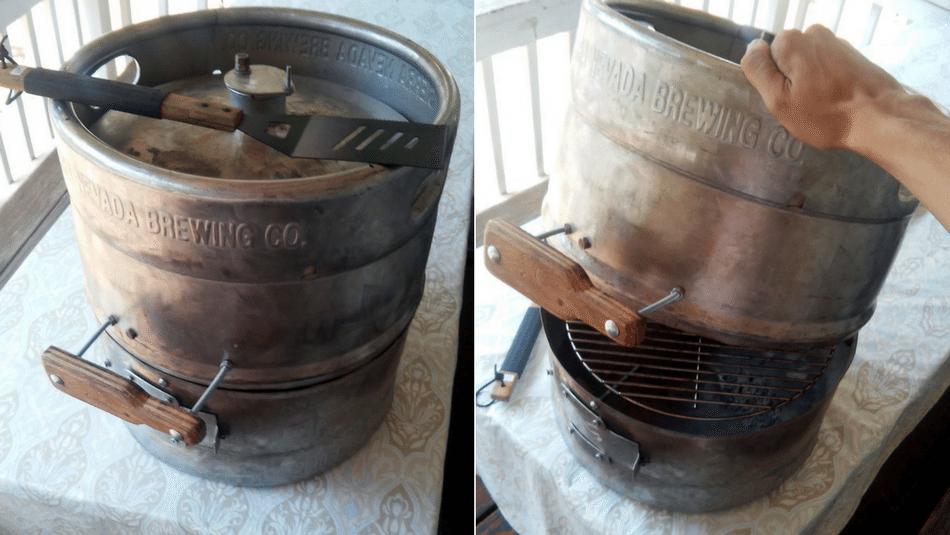
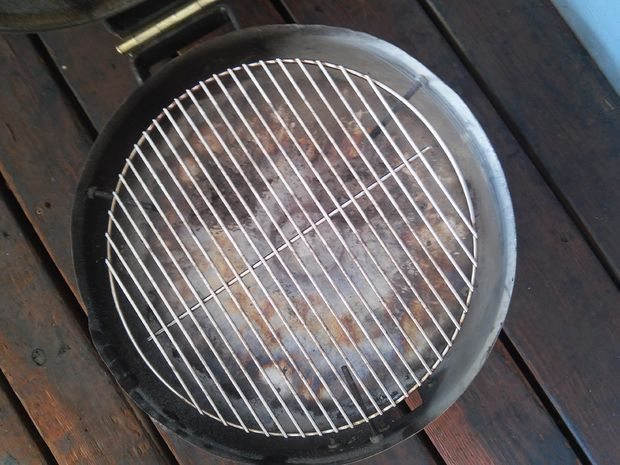
Once you accomplish that, you'll be off to mounting the grill grate because hey, you need a cooking surface, right?
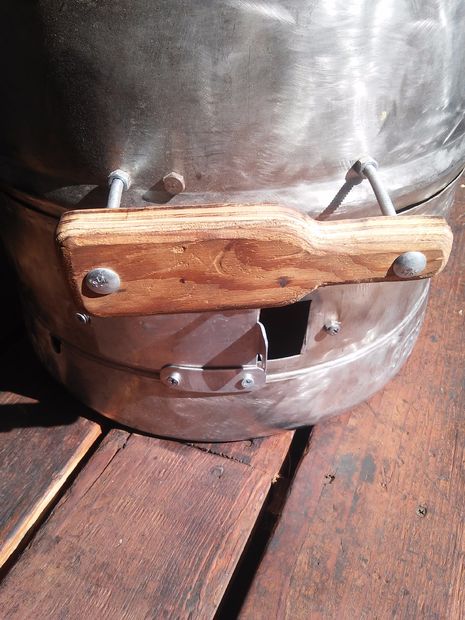
From there, you'll need a handle because, well, it's a hot grill and everyone knows the best char-griller practice is to get the main chamber to a high heat level.
Once you get that set up, you might want to craft a base for the grill so it doesn't tip over. To view the full tutorial, you can find it here.
So who's ready for summer now?