When summer comes around, there's always a list of things to do to prepare for all that this season holds. Some families book the beach house rental, others map out the next epic road trip, while barbecue lovers bust out the backyard grill. However, before you can enjoy your beloved grill, it's essential to go through the steps of how to clean a gas grill after a long winter in storage.
Even the best of grills will take a hit during the cold temperatures and long months of winter and spring. As tempting as it might be to get back into grilling as soon as the weather turns warm, you'll need to prep your grill and make sure it's up to shape for a summer of cookouts and BBQs. To clean your grill, use these seven maintenance steps.
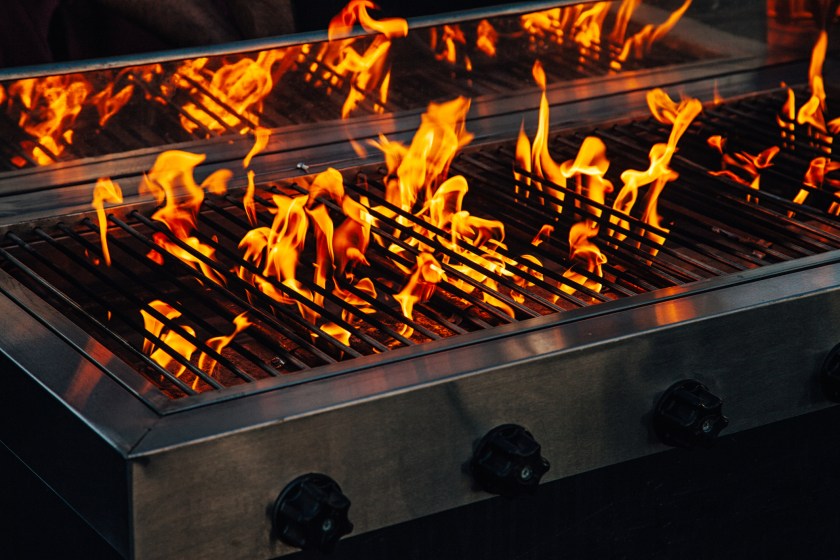
Step 1: Clean Your Grill
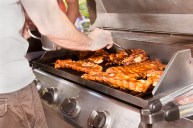
Getty Images/Sergei Telenkov
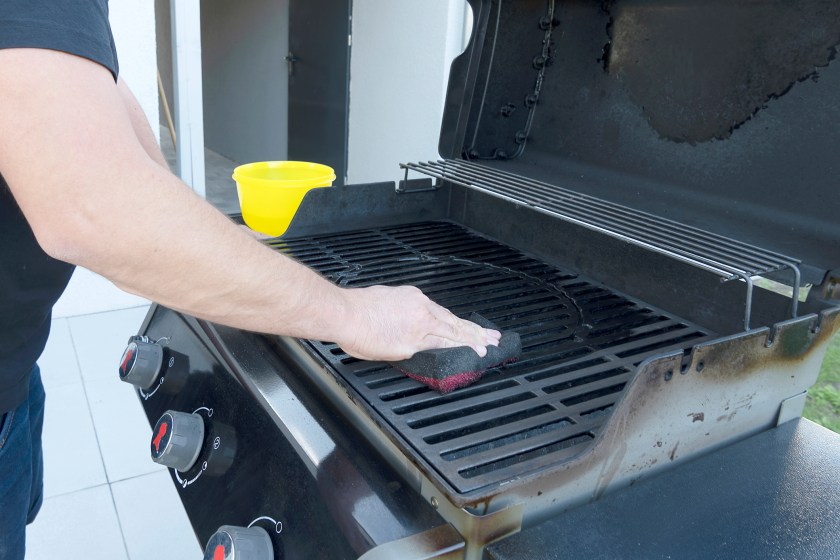
Did you clean off the grates before you stashed the grill away for winter? Even if you did, it could likely use some sprucing up after sitting for months. To begin, make sure the gas is off. Once you've checked, it's time to clean off the grill grates. Typically, a wire grill brush designed to clean a grill is the go to option, but be careful when using these tools, since those wire brush bristles have been known to break off.
To avoid this, try using something like a wood grill scraper. You can also stick to good old aluminum foil which has been balled up. Simply ball up the foil and use tongs to scrape it down a hot grill, removing any excess gunk. While you're at it, grab some stainless steel cleaner or warm soapy water and clean all the steel surfaces on the grill.
Step 2: Inspect the Gas Line
Before you've got food cooking, it's an excellent idea to double check the gas hose. A leak in the hose will not only waste propane, but can be dangerous. Inspect the seal and the gas line for any cracks or damage. If you don't see any problems up front, double check with soapy water tests.
To do this, take a glass of soapy water and brush around the seal. If bubbles start to form, then you have a leak. In this case, your seal will need proper repairs. Unless you're mechanically inclined, talk to the manufacturer about repairs and replacement parts.
Step 3: Check the Igniter
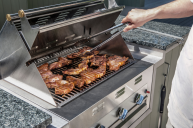
Getty Images/serts
Without an ignition, you won't get any flame. Check the igniter to make sure it is functioning properly. If you don't hear a click or see a spark, you'll have to replace the battery.
If it's not a battery operated gas grill, you may simply need to clean the igniter. In this case, some sandpaper or a scrubber pad will do. Use either one to remove any rust or debris that could be causing the igniter to fail.
Step 4: Lube the Hinges
A well-oiled machine works best, and in this scenario, the grill is your machine. Like all machines, after a while a grill can get a little squeaky. Since the point here is to ensure the grill is running at optimal performance and to lengthen its life, a little WD-40 is in order. Spray the hinges to make sure everything maintains a fluid motion and to prevent any future damage from rusty hinges.
Step 5: Tighten the Wheels
The wheels are often a feature that's overlooked on a grill. When we tend to think of grill maintenance, usually cleaning the cooking grates and dealing with the propane tank gas supply is where the upkeep stops. However, the wheels are essential, considering that a loose wheel can lead to a tipped grill.
When you roll the grill out of the storage area, make sure the wheels are in proper working order. The last thing you need is to be flipping a burger and flipping the grill at the same time.
Step 6: Repair Parts
This may sound like a no-brainer, but it's an important step nonetheless. If you've noticed anything else rusty or damaged at this point, it's best to get it replaced before firing up the grill. By doing so at the start of the season, you'll prevent feature meltdowns when you're in the middle of entertaining guests at your backyard barbecue bash.
Step 7: Keep It Covered
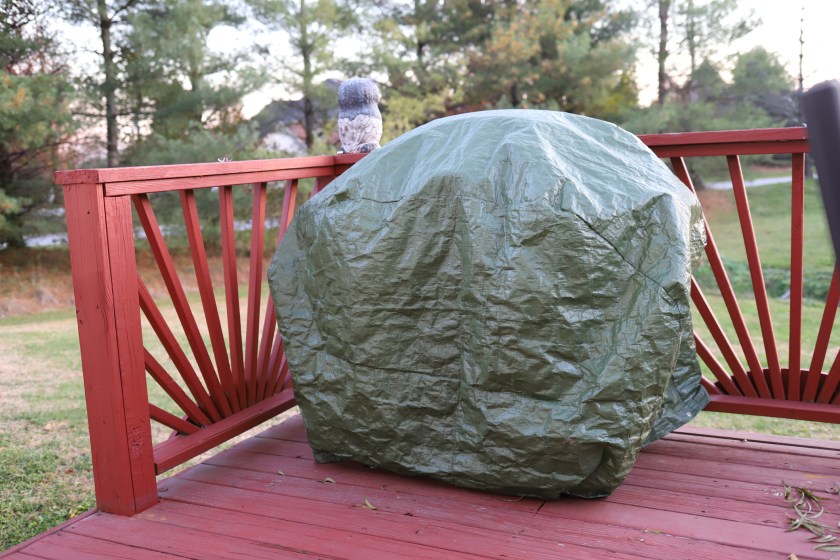
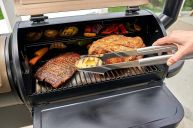
Getty Images/Robin Gentry
When you're not using the grill, put the cover back on. It may sound annoying, but bad weather can crop up no matter the season. A simple step like putting on a cover can go a long way to preserving the life of your grill.
This post was originally published on May 25, 2018.